Decorating pumpkins is an age-old activity for celebrating autumn, but carving can sometimes get very painless. That’s when a Disney-inspired pumpkin painting comes into the scene!
If you are a die-hard Disney fan, love to spend quality time with your family doing some fun activities, or adore decorating your house with something magical, then these 10 easy Disney pumpkin painting ideas will be just what you need carving needed, just creativity and a little bit of paint and dash of Disney magic!
Why Choose Disney-Inspired Pumpkin Painting?
Disney characters have that charm that can be timeless and can be enjoyed by people of all ages. Such pumpkin painting is super fun for children and adults alike.
Moreover, it is also safer compared to traditional carving, particularly for the smallest kids. You can make your pumpkin become whichever character you want – from Mickey Mouse to Ariel – without scooping out seeds to avoid mess.
Paint pumpkins and show Disney love, along with making decorations that will last all season long and look fabulous in the house or on your porch. And it’s a great way to make your fall decoration extra personal with something magical!
Essential Supplies for Pumpkin Painting
Here’s a list of essential supplies needed for pumpkin painting:
Begin by collecting the paints and brushes. Pumpkin painting is not at all complicated, but without the proper paints and brushes, it will be hard to meet clean lines and vivid colors.
Paint and Brushes
Acrylic paint is the best choice for painting pumpkins. It sets well on the surface and dries fast.
You’ll want a set of different brushes: a small, fine-tipped brush for details, a medium brush for filling in larger areas, and a sponge brush for applying the base coat.
Additional Supplies
- Permanent markers for outlining.
- Clear spray sealant to protect your design.
- Paper towels and water for quick clean-ups.
- Painter’s tape to mark off sections.
- Stencils, if you need help with the more intricate designs.
10 Easy Disney Pumpkin Painting Ideas
Alright now let’s dive right into the fun stuff! These ideas are simple enough for beginners yet impressive enough to wow anyone who sees your pumpkin creations.
1. Mickey Mouse Pumpkin
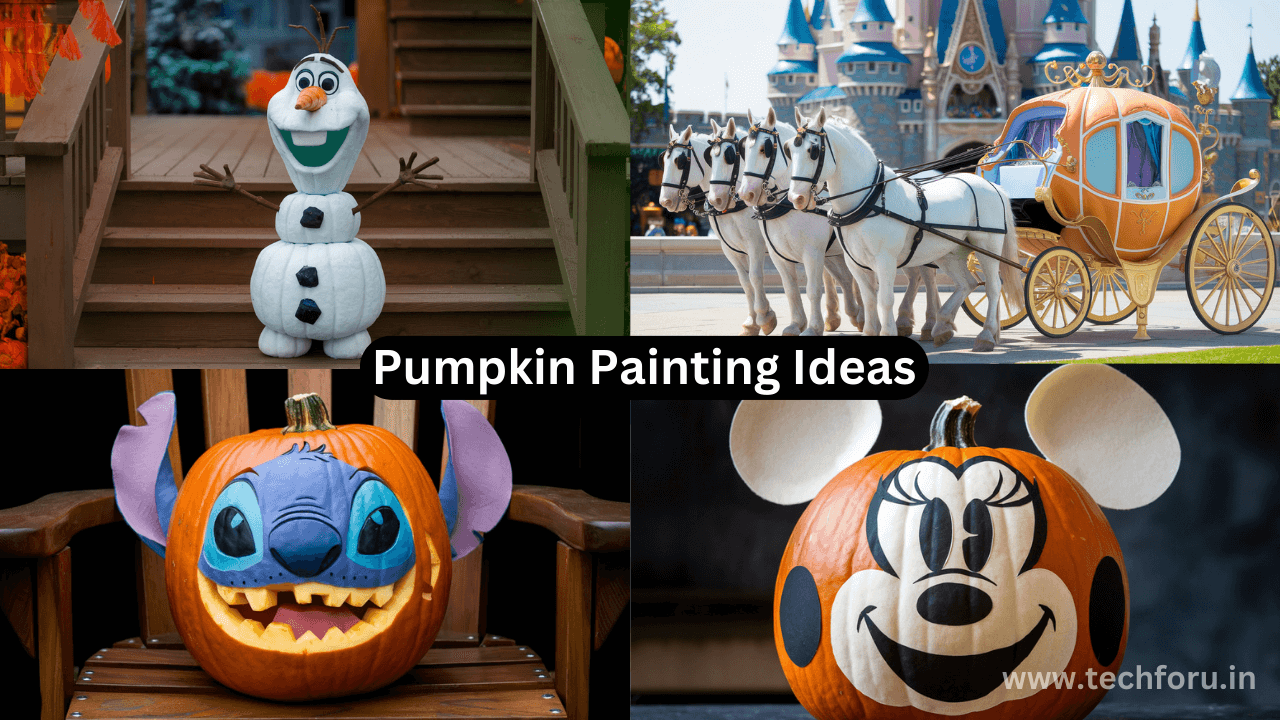
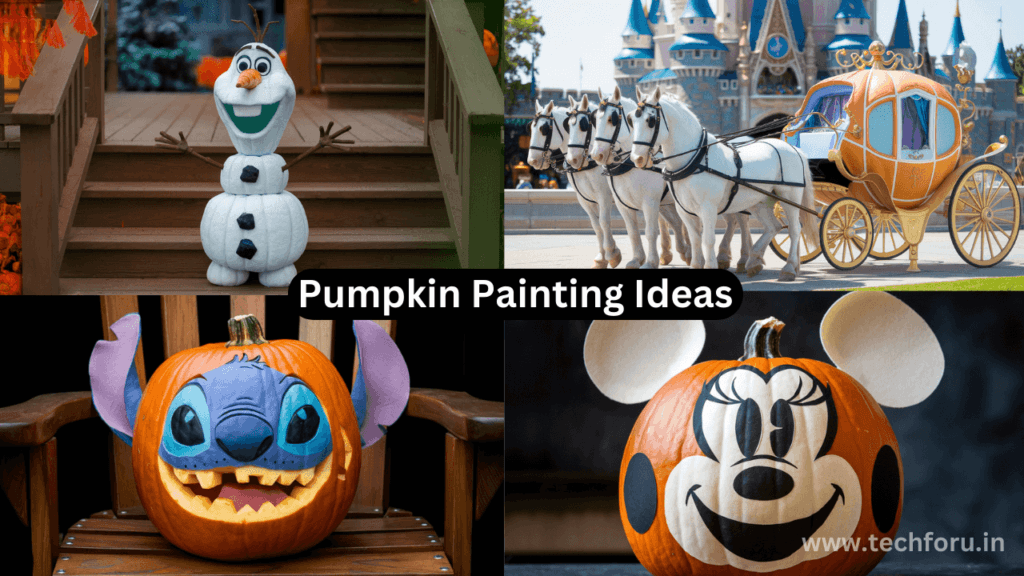
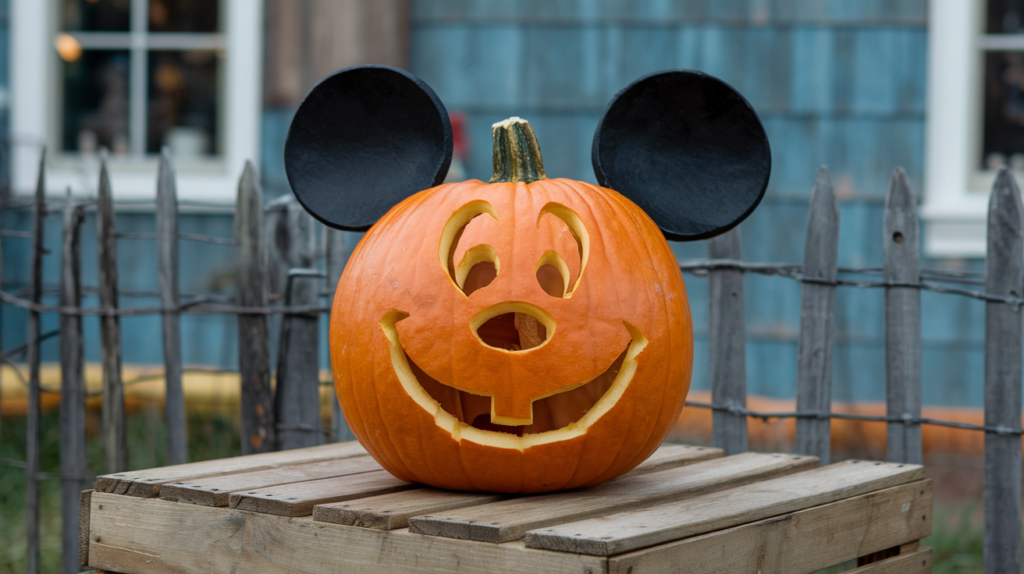
Base Coat Black Start with a base coat in black, then add Mickey’s iconic ears either by painting them on or adding cut-out cardboard circles. White gloves are a classic detail to draw on the front.
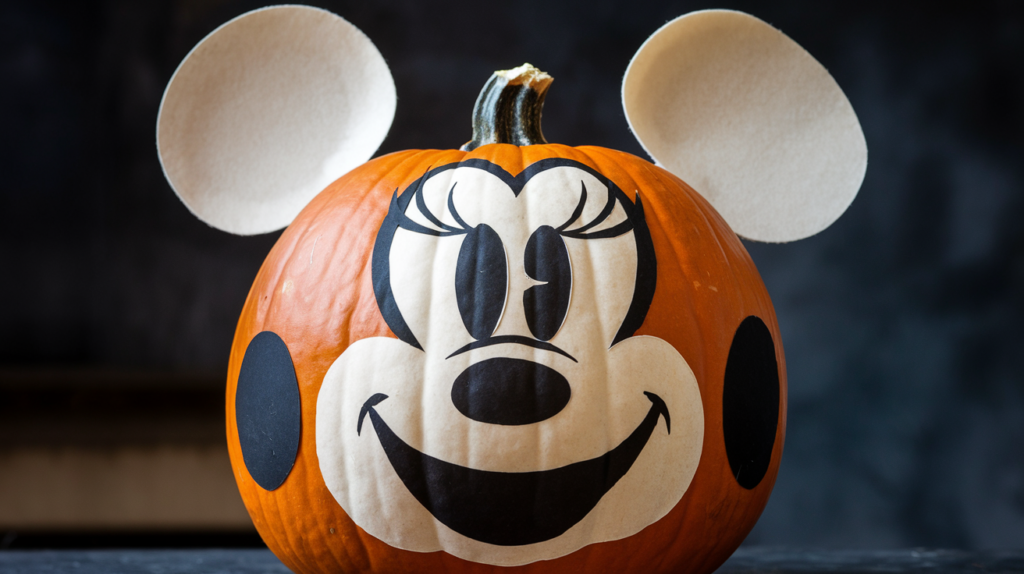
2. Minnie Mouse Pumpkin
Just like Mickey but twist it! Minnie’s bow should be painted pink or red, and white polka dots may help her to be easily identified. This is a cute, almost feminine option for an individual who loves Disney’s leading lady.
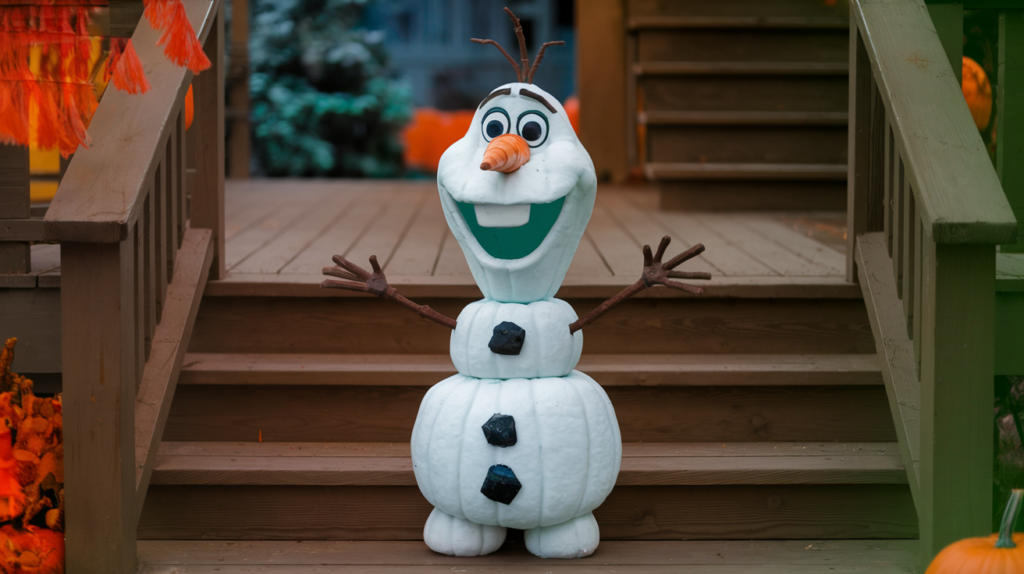
3. Olaf from Frozen Pumpkin
For Olaf, paint the pumpkin white and then add his big, happy eyes, carrot nose, and toothy grin. Olaf is all about happiness, so have fun with his expressive face!
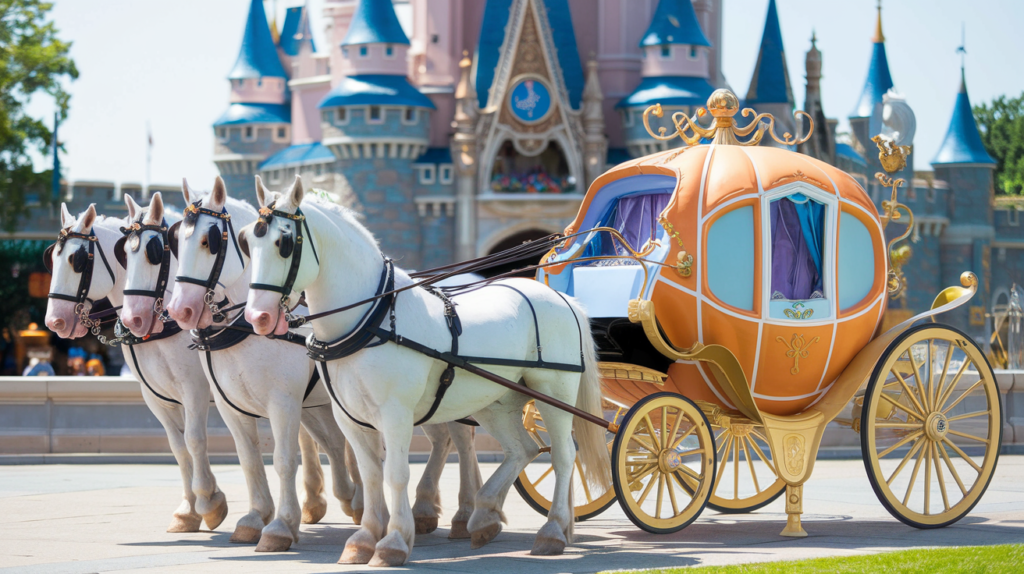
4. Cinderella’s Carriage Pumpkin
Use metallic paints in gold or silver to transform your pumpkin into Cinderella’s elegant carriage. Add some wheels on the sides and line it up with some sparkle using glitter or rhinestones for that fairytale finish.
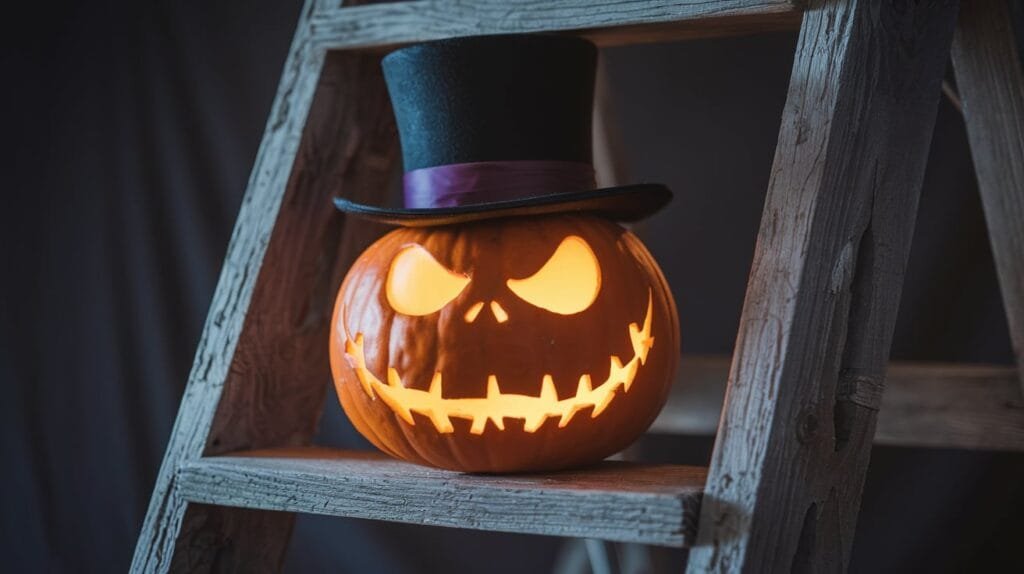
5. Jack Skellington Pumpkin
If you like spooky more than sweet, then a Jack Skellington pumpkin is just the deal. Paint your pumpkin white, and then draw Jack’s characteristically black, skeletal grin. Pretty minimalistic in design yet gruesome and striking at the same time, this will be perfect for Halloween.
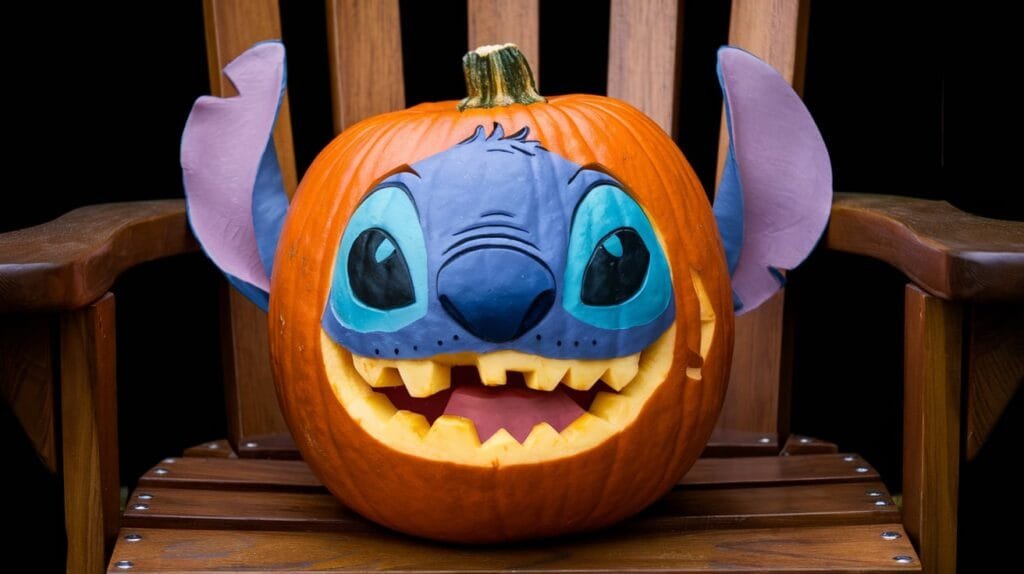
6. Stitch from Lilo & Stitch Pumpkin
Stitch’s naughty personality can be accomplished with a blue base paint coat and big, round eyes. Don’t forget to add his ears with paint, or you can use cardboard cutouts for an extra three-dimensional effect.
7. Winnie the Pooh Pumpkin
The favorite honey-loving bear is simple to create by using just a yellow pumpkin and only minimal details. Finish him off with friendly features in outline form using black paint and finish it off with a wee honey pot for an adorable touch.
8. Ariel from The Little Mermaid Pumpkin
Put a little magic from the sea inside your pumpkin with this Ariel-inspired design. Shine the blues and greens on the background while you add details such as red hair and seashells. To top it all, you may glue a few small pearls or sequins.
9. Beauty and the Beast Rose Pumpkin
A red rose can be such a gorgeous centerpiece for your pumpkin. Paint the rose in the center and surround it with golden vines or sparkles to evoke the spirit of the enchanted rose from Beauty and the Beast.
10. Simba from The Lion King Pumpkin
Simba, earthy tones such as orange and brown will create a majestic mane for the young lion. Add details like his wide eyes and proud nose to capture the bold and adventurous spirit.
Step-by-Step Guide to Painting Your Disney Pumpkin
Prepping Your Pumpkin
Before applying the paint, ensure that your pumpkin is very clean and dry. Remove any dirt particles by using a damp cloth and use a white or black base coat based on your design. Let this coat dry out before painting.
Sketching and Painting the Design
Lightly sketch out your design onto the pumpkin with a pencil or a light-colored marker. Start large with the major shapes and then fill in the details. It’s better to paint in layers. Paint the largest areas first and let them dry. Then add your fine details, such as facial features last.
Finishing Touches and Sealant
Once your design is complete and dry, you can spray a clear sealant over the entire pumpkin to protect the artwork from smudging or fading. This will also help the paint stick better if you plan to let it be outside.
Tips for Making Your Pumpkin Last Longer
Let your pumpkin sit indoors or in a shaded area to have it stand through the whole season. Seal up those paints underneath with sealants. Moisture and heat further worsen the fresh paint, so be cautious when applying these sealants, by the way.
Involve the Kids!
Great activity to engage your little ones with pumpkin painting. You can use washable paints or markers for little kids and then let them decide which of the Disney characters they would like to paint on the pumpkin.
Where to Display Your Disney Pumpkin
Hang them on your front porch, over your mantelpiece or as part of your centerpiece for a fall-themed table. You can add some fairy lights by them, along with other decorative items that have Disney characters.
Conclusion
With these 10 easy Disney pumpkin painting ideas, you’re sure to create magical Disney-themed fall decorations.
Whether it’s to craft a Cinderella carriage or a mischievous Stitch, these pumpkins are fun, creative, and safe ways to celebrate the season. Get your family together, pick your favorite characters, and let the Disney magic begin!
FAQs
1. Can I use a plastic pumpkin instead of a real one?
A plastic pumpkin is just as good as a real pumpkin and can be used again next year.
2. What kind of paint works best on pumpkins?
Acrylic paint is the best option because it adheres well to the pumpkin’s surface and dries quickly.
3. Do I need to use a primer before painting?
Using a white base coat or primer helps the paint stick better and makes the colors pop.
4. How long will the paint last on my pumpkin?
Your painted pumpkin will last weeks indoors or in the shade only, with proper sealing.
5. Can I combine different Disney characters on one pumpkin?
Absolutely! You can mix it up among characters or make a themed pumpkin using multiple characters from the same movie.
