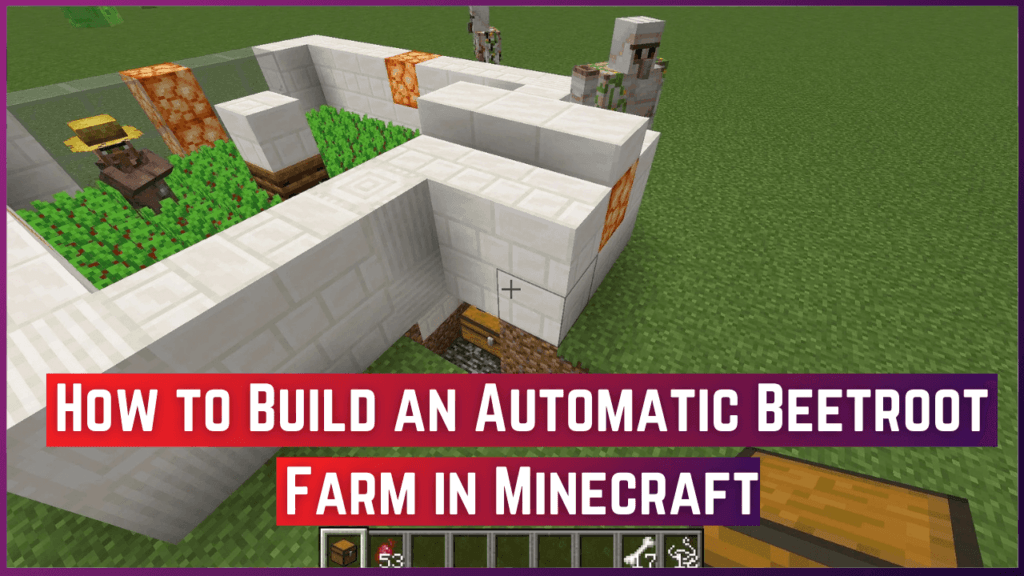
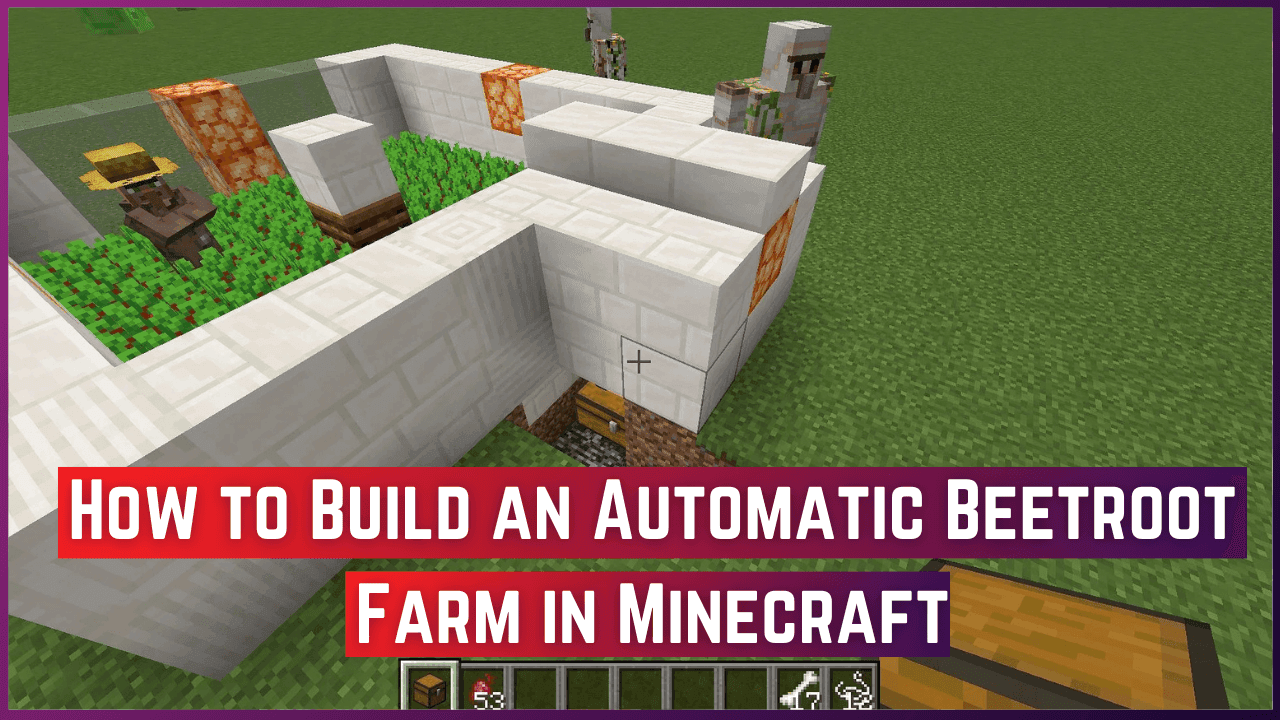
Farming is a vital component of survival and prosperity in Minecraft; automating your farms adds fun and rewarding time to the game for users. One crop most people overlook is beetroot, which can do a multitude of things. It is very useful in making beetroot soup, breeding pigs, and trading with villagers. It saves you lots of effort while giving you constant food and resources.
In this tutorial, we will cover everything from the materials needed to the setup and automation. Let’s get going!
Materials Required for Beetroot Farm
Before you start building your automatic beetroot farm, here are the materials you’ll need:
- Beetroot Seeds (can be obtained by harvesting fully grown beetroot or found in villages).
- Hoe (stone, iron, or better).
- Water Bucket (to hydrate farmland).
- Dirt Blocks (for farmland).
- Hopper (for collection system).
- Chests (to store harvested beetroot).
- Rails and Minecart with Hopper (for an automated collection system).
- Redstone Dust (for automation).
- Villagers (as the key workers for harvesting).
- Building Blocks (stone, wood, or any preferred material for structure).
- Glowstone or Torches (for lighting).
- Glass or Fences (for protection).
Having all these materials on hand will make the process much smoother.

How to Set Up Your Farm
Step 1: Prepare the Area
- Identify a flat surface that can fit a 9×9 farm plot.
- Clear any trees, grass, or debris in the area.
- Place a water source block in the center of the plot. This will hydrate the surrounding farmland within a 4-block radius.
Step 2: Create Farmland
- Use your hoe to till the dirt into farmland around the water source.
- Plant beetroot seeds in the farmland. These seeds will grow into beetroot crops over time.
Step 3: Add Lighting
- Place glowstone or torches around the farm to ensure the crops grow even at night or in caves.
At this stage, you have a basic beetroot farm ready to grow crops. Now, let’s automate it!
How to Automate Your Farm
Automation is the process of a development of mechanism in which beetroot is harvested, collected and stored with a minimal amount of effort from humans. Villagers can play an important role in this process since they can harvest and replant crops automatically.
1. Setting Up the Collection System
- Place hoppers under the farmland where your crops are planted.
- Use a minecart with a hopper running along a rail system beneath the farm to collect harvested items and transfer them to a chest.
- Connect the hoppers to a chest or storage system using Redstone. This ensures your beetroot is automatically stored as villagers harvest crops.
Tip: Place the collection chest in an accessible location to easily retrieve the stored items.
2. Create an Access Tunnel
- Dig a tunnel underneath the farm to access the hopper system and storage chest.
- This tunnel allows you to check the redstone wiring, retrieve items, and make adjustments without disrupting the farm above.
Use ladders or stairs to enter and exit the tunnel quickly.
3. Build a Protective Wall
- Surround your farm with walls made of stone, wood, or glass.
- This prevents mobs like zombies from attacking your villagers or trampling crops.
- A height of two blocks is sufficient to keep most threats out.
- Add a roof or fence top to keep flying mobs like phantoms away.
- Use gates or doors for your access.
Lighting is also critical inside the walls to prevent hostile mob spawns.
4. Add Villagers to the Farm
The only way to automate crops is by setting up villagers. They can reach the crop field to harvest and replant if needed. Here’s how you can get your villagers set up in your game:
- Step 1: Place near your farm a small enclosure with beds to contain the villagers.
- Step 2: Give them each a composter. They will then turn into farmers.
- Step 3: Open access to the beetroot crop but limit their area so they don’t leave your farm area.
- Step 4: Feed the villagers initially with food such as bread or potatoes to keep them working.
When villagers are occupied in their place, they will automatically harvest and replant beetroot, and the excess will be dropped into the hopper system below.
Final Touches
- Expand the Farm: Once your setup is working well, you can replicate it or scale up the farm to grow other crops besides beetroot.
- Monitor the System: Sometimes check the storage and check that the villagers are doing their work correctly.
- Upgrade Redstone: For advanced players, consider using observers and pistons for automated harvesting if you want a more Redstone-focused farm.
Conclusion
Building an automatic beetroot farm in Minecraft is one nice way to speed up your gameplay and keep this versatile crop rolling in at you. Using villagers with automation, you can create a well-thought-out system that will save you time and resources and, of course, enjoy the satisfaction of passively farming.
This is a perfect farm for any player, whether starters who wish to simplify their farming or experienced players wanting to produce perfect products. Have fun farming!
FAQs
Can this method work with other crops?
Yes, the setup works with carrots, potatoes, and wheat as well, with minor adjustments.
Can I use this farm in multiplayer servers?
Absolutely! Just make sure the area is protected from other players and griefing.
What if my villagers stop harvesting?
Ensure their inventory isn’t full and that they have access to beetroot seeds.
Do villagers need to be fed regularly?
Once set up, villagers don’t require additional food if they can access harvested crops.
Why is lighting important in farms?
Lighting ensures crops grow continuously, even during nighttime or in low-light areas.


