How to Easily Verify Your Blog on Google Webmaster Tools: Before starting the verification process, you need to know about Google Webmaster Tools (Search Console). So, let’s start with the question given below.
What are Google Webmaster Tools(Search Console)?
Google Search Console previously known as Google Webmaster Tools(GWT) is a free service offered by Google that helps you monitor and maintain your site/blog presence in Google Search results or Google Search Ranking. You don’t have to sign up for Google Webmaster Tools for your site/blog to be included in Google’s search results, but doing so can help you understand how Google views your site/blog and well optimize its performance in search results. Here you will find a step-by-step guide to easily verify your valuable blog. At the end of this article, you will find a full video tutorial on how to verification in Google Webmaster Tools.
Steps for Verification in Google Webmaster Tools
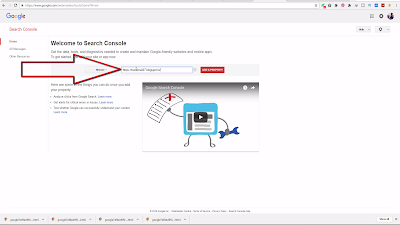
Step 1. Open Google, search for “Google webmaster tool” and sign in with your Gmail-id.
Step 2. Now copy & past your site/blog URL here and then click on ” ADD A PROPERTY “
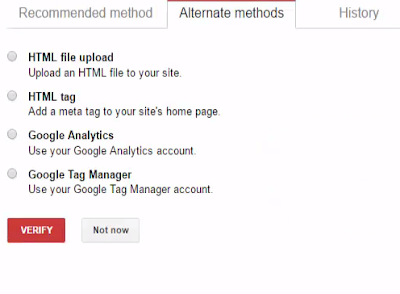
Step 3. There are few methods of verification on Webmaster Tools, you can choose any one of them.
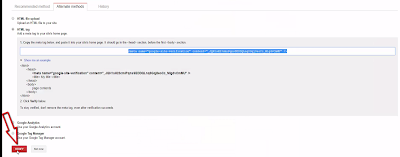
Step 4. Here I personally prefer “HTML tag” for simplicity and Copy the HTML CODE from the ‘HTML tag‘ section.
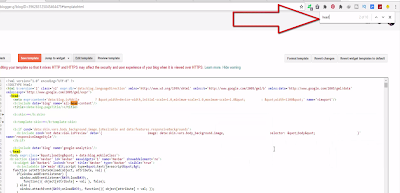
Step 5. Now open blogger.com and go to the template section and then click on Edit HTML
Step 6. Now press CTRL+F and search for the head.
Step 7. Paste that HTML CODE and hit on saving the template.
Step 8. Now on Search Console hit on verifying and that’s it.
For a better understanding watch this video :
Finally, we hope this article can help you to verify your blog on Google Webmaster Tools. If you really think this article helps you then don’t forget to appreciate our efforts in the comments below. For more blogging and technology-related tutorials, stay connected with us.
For the latest tech news & blogging Tutorials, follow TECH FOR U on Twitter, Facebook, and subscribe to our YouTube channel.


